|
If you're a mommy wondering how to get nutrition into your little one's diet, Here is super YUMMMMY energy ball recipe that your kids will LOVEEE! There is just so much nutrition in these tiny bites that you will often make it again and again as they won't stick around for too long! Especially during these festivities when everyone's busy making delicacies and are exhausted managing it all! SuperMOMS! I hear ya! RAGI/Foxtail millet has grown to become my favorite millet of them all since living in India for a while now! I make RAGI DOSAS.. Ragi soups.. Ragi pancakes and what not in my Plant powered kitchen! Ragi is so high in fiber along with being insanely antioxidant rich in addition to being gluten free for those dealing with autoimmune disorders and is a boon for those who have cholesterol issues has it reduces LDL and increases good cholesterol. There is absolutely NO reason to not love this millet that has become a family favorite around here! 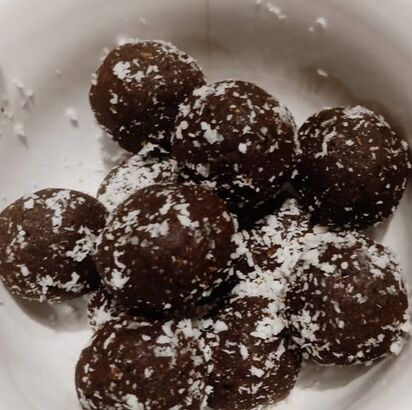 Let's get started! You will need
Recipe : Roast Ragi till it becomes flavorful. Repeat the same with peanut and sesame seeds. Once that's done. Simply grind toasted peanuts, sesame seeds, cacao powder. raisins and ground flaxseeds with a pinch of salt. The nuts will start releasing the oil making it glossy. Roll it with desiccated coconut shreds. That's it! Simple as simple can get!! Make it right away and thank me later! See yaaa soon!
0 Comments
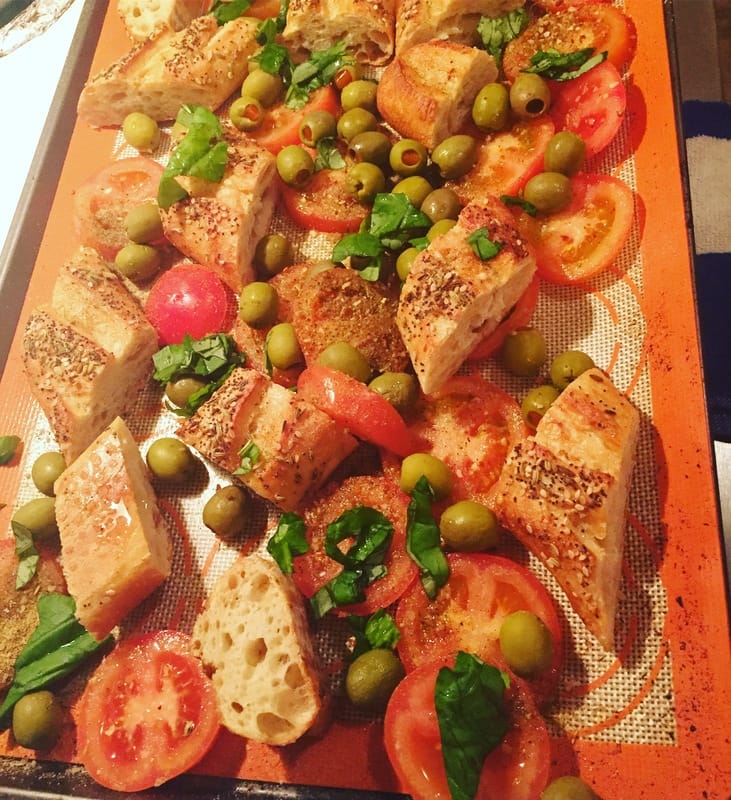
I hope that when you read this post no matter where you are in this world, You are inspired to get in your kitchen and make this healthy and easy to make snack that will serve you well when you crave something delightfully sweet and healthy! I haven't been on here too much lately, because creativity and motivation can't be forced and although, I have been cooking a whole lot, but taking pictures, writing them down and editing is another ball game altogether. But anyway, Thankful that now, I have a schedule of posts lined up this fall starting with these delightfully yummy bliss balls that I made for my son who is actually my motivation and inspiration to get creative in my plant powered kitchen. What's your motivation to bring joy and health in your kitchen ? Always looking out for your comments and feedback. I make these chocolatey bliss balls weekly and by the end of the week, They are usually finished by my crew even before it's time to make another batch. Tender bites of soft chewy dates, creamy melted dark chocolate and crunchy roasted bits of almonds make it unimaginably satiating. 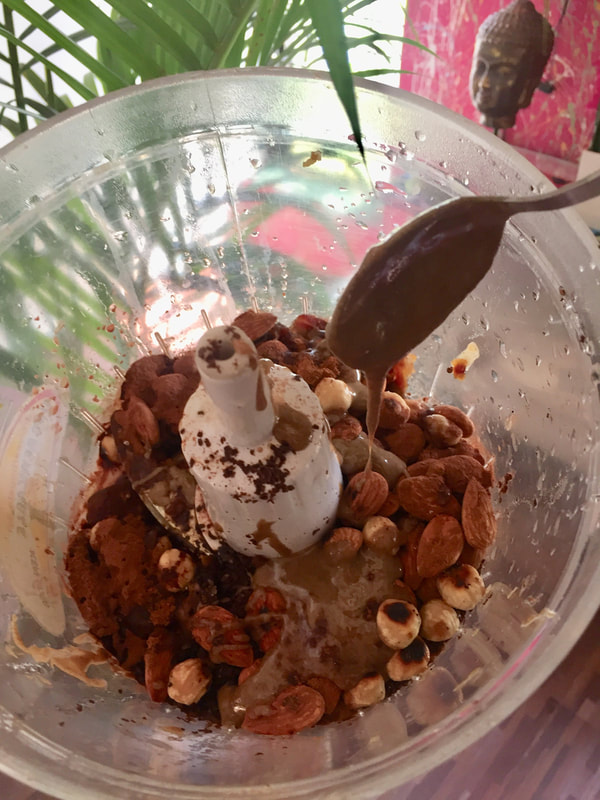 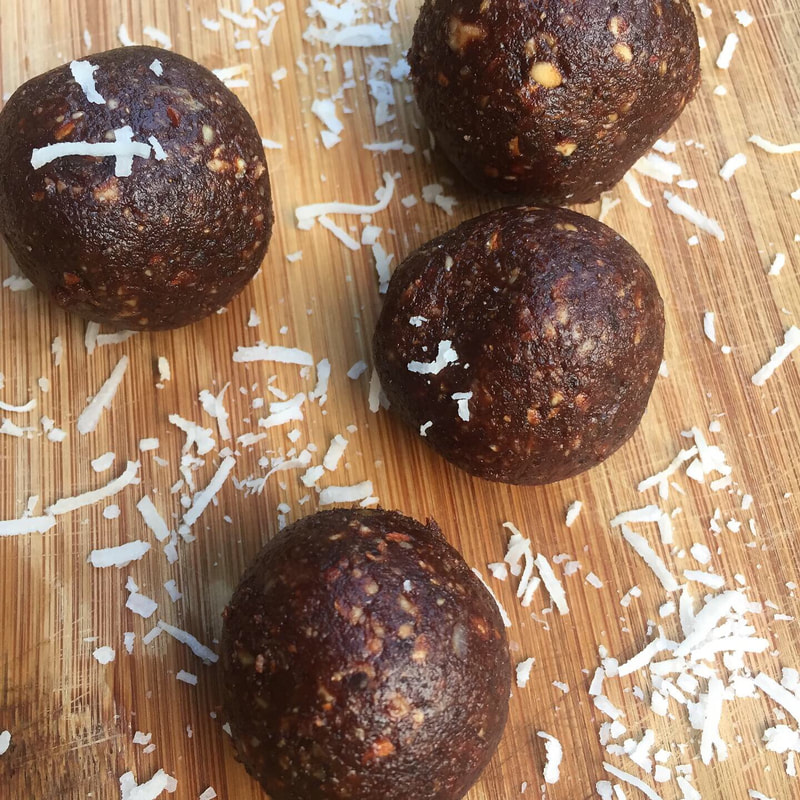 Ingredients : 1/2 to 1 cup of soaked seedless dates ( Soft Medjool dates work wonderfully too ) 1 medium size bar of dark chocolate shaved and/or melted 2 giant heaps of crunchy/creamy almond butter! Loving the Happy Jars brand lately. You can find them here :https://www.amazon.in/dp/B07GTPMGZJ/ 1 cup of toasted almonds 2 tsp of raw organic Cacao Powder 1 tsp of Cold pressed coconut oil pinch of Himalayan pink salt 1 tsp of Cinnamon powder Incorporate everything into a food processor and blend well till it forms a huge giant sticky chocolatey ball which you can roll separately into mini balls and roll in a mixture of coconut shreds and store in an air tight container for your weekly indulgence! Let me know when you get a chance to try and whip these little nutritional powerhouses! Until next, Wishing you health and happiness, Akshita Heyyyyy I am ALLLIVE! I have been investing a lot of time reading/listening about the the power of foods to eliminate disease and the power of Mind over matter. The brain is a muscle and I am currently focussed on exercising it more and working on my personal growth in terms of my Health+Family and Career in the field of Holistic Health & Beauty as a Lifestyle Entrepreneur. Lately, I have been super inspired to create Vegan recipes using different superfoods in my kitchen. You can follow me on my instagram here , for more inspiration to lead a life filled with purpose, joy and health. 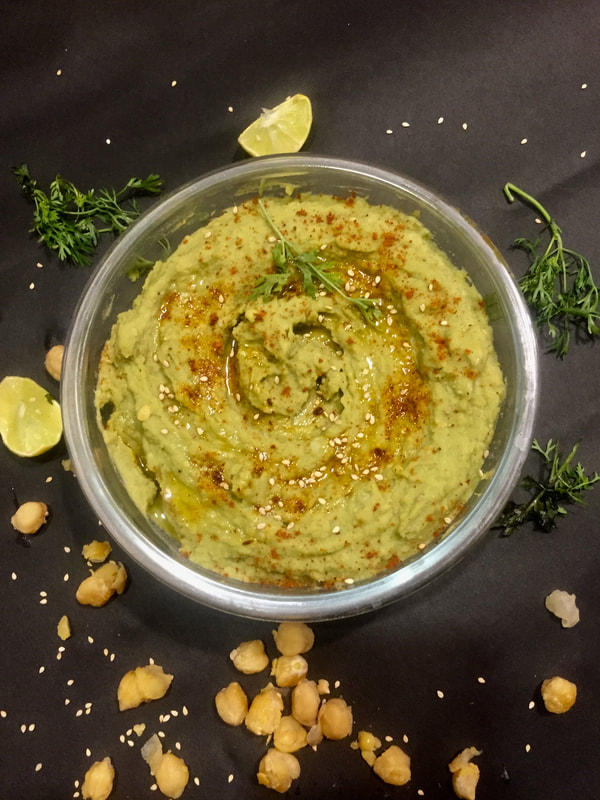 In the past, I have made beet hummus, sweet potato hummus and several others, But I strongly suggest, You have some sort of Hummus in your refrigerator at all times, because when you have those unearthly hunger pangs, All you do its cut up some carrots and dip the hummus, spread it on a whole grain bread with salt and pepper or just spread hummus on a tortilla & some cooked beans over it with sliced avacado perhaps with seasonings and chilli flakes and voila, You have an easy peasy lunch ready in a couple minutes. Moringa is another superfood that has been a staple in my kitchen for the past year or so, I have chart below so that you can easily know how miraculous and effective this plant is. If you're in India, Please call my friend Devika who sells dried Moringa powder from the trees she grows in her farm locally. Her number is +919325132180. 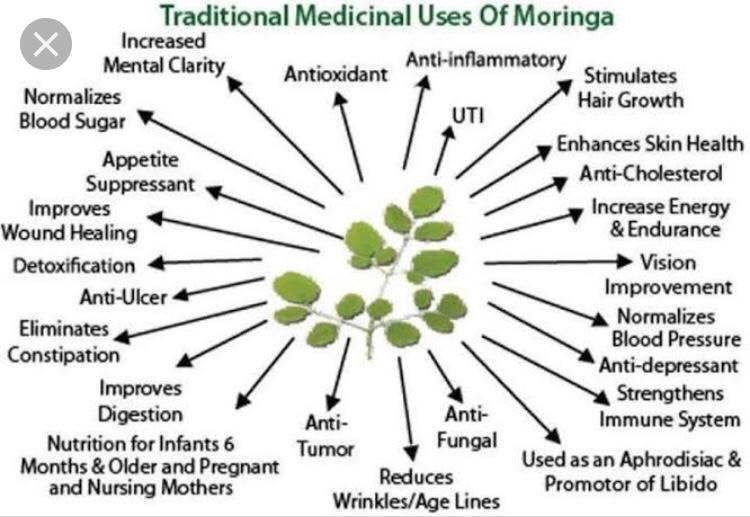 For making this creamy and spicy Moringa Hummus, You will need,
Blend and incorporate everything together in a food processor till it is mixed well. Adjust seasonings and add a dash of chilli flakes and Evoo on top. Let it cool down before storing it in the refrigerator. I wholeheartedly hope that you try out this recipe and let me know your thoughts in the comments below or DM me on my Instagram here. With truckloads positive vibes coming your way, XO, Akshita
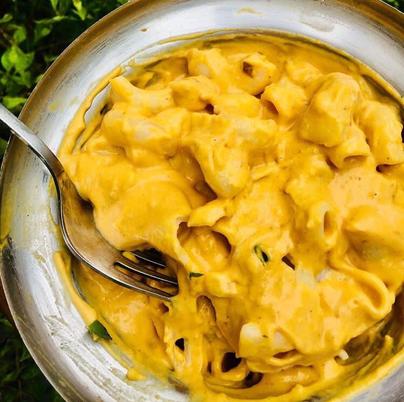
I won't really keep you waiting and will be happy to share this recipe right away. Please let me know if you have a chance to try it out...I made this for the first time few years ago and at that time my son was still used the traditional processed "Mac & Cheese" that they served him at school lunch and I recall that he called my version "YUCKY"....So, I guess this version that I improvised since then might have tasted much better as he gobbled up without realizing that it wasn't really his "cheesy" Mac that he was used to eating at school and other parties he was invited to. Nuf said, Let's get started. You will need 3 medium sized potatoes 2 carrots 2 tsps of Nutritional yeast 1 tsp turmeric 2 garlic pods 1 tsp of nutmeg 2 tsp of lemon juice 1 tsp of Himalayan pink salt 1 tsp of freshly ground black pepper * Optional you can add broccoli, spinach, peas and other vegetables to the boiling water to steam to amp up the nutrition of the recipe. Procedure : Cook the carrots and the potatoes till they are soft and fork tender. Once slightly cool, Add them to the blender with rest of ingredients and blend on High, Mix well and blend again till it reaches a cheesy consistency. Serve over pasta of your choice. Perfect for a lazy weeknight dinner. I hope you enjoy and let me know in the comments. Hollllaaaaaa!!! Been forever since I have blogged on here, But if you really want to know what I am upto and all the new stuff that's happening in my life and what's keeping my soul nourished, Feel free to friend me on my IG @glamlocal and my health page @bollywoodyogi ! Yeah, I am a yoga teacher now! All that and more happened in 2016 with a lot of ups and downs like hurting my knee and being bedridden for a few months at the beginning of this year and being able to stand on my head now! Alright, enough with my never ending banter, I am so happy to share this super simple recipe of healing soup that I posted a while on my "stories" on instagram and a couple of my friends wanted the recipe! I have to say, My kiddo who is 8 now loved it and so did people at a party I was at recently! Enuf said, Let's get on the recipe already! 
Here are some super awesome ways to SUPERCHARGE your life!
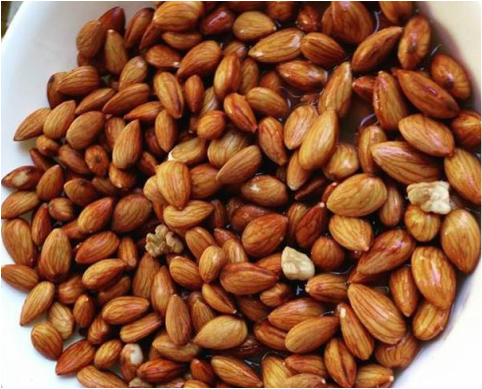
With truckloads of positive vibes and gratitude, Until next, Making Sprouted almond milk is as easy as 1-2-3 and some of you might be a regular at making it! I started making my own almond milk shortly after turning vegan somewhere around 2013, Although I buy store bought almond milk when I know I won't be able to whip up mine at a given time. Silk and 365 organic brand from whole foods are the brands I prefer, But there is nothing close to drinking freshly made delicious almond milk at home, I just wish I could make it as often as I would like.
Sprouting almonds overnight is a wonderful way to get even more nutrients out of the nut! Here are some amazing benefits.
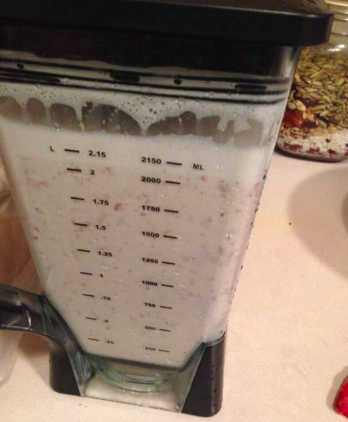
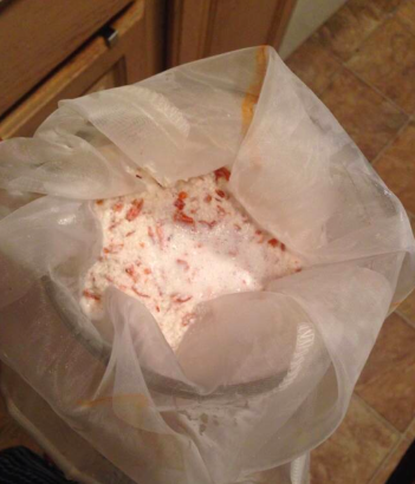
For the recipe all you need is Almonds, some water, pitted dates and non alcoholic Vanilla essence to make slighter sweeter but you can choose to omit if you like it completely raw. 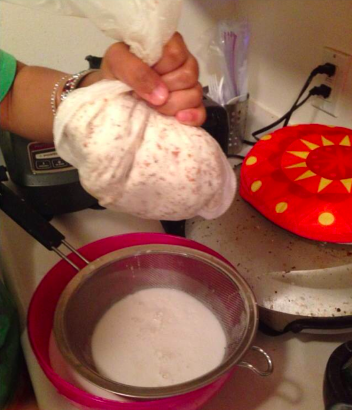 Ingredients & Procedure
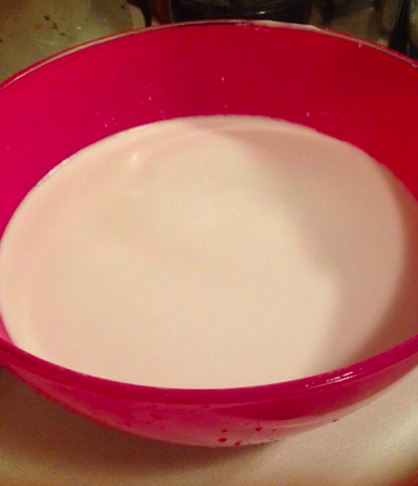
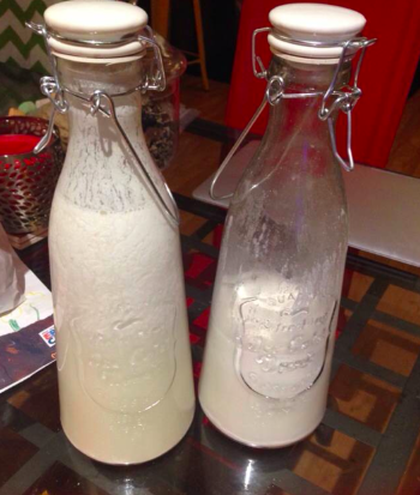
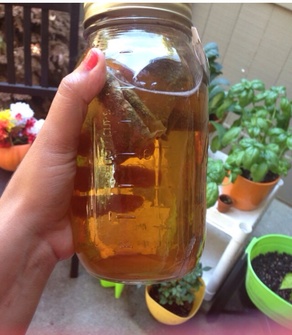
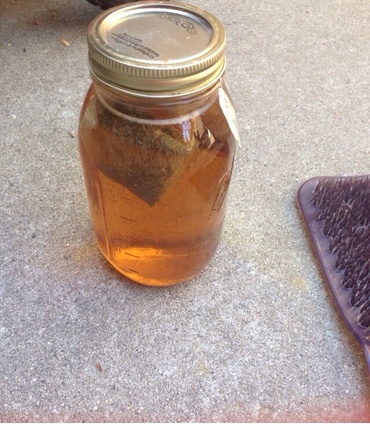
And you are pretty much done, Just pour it through a measuring cup into a glass bottle and enjoy it for the week ahead! Let me know if you make some in the comments below. Also, you could follow me on my social networks Fb, IG @Glamlocal and Youtube@ajxotica which I will be relaunching as Glamlocal very soon. With truckloads of positive vibes and gratitude, Until next. 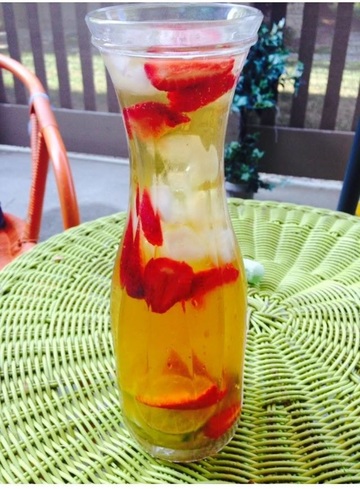 It is getting pretty hot in Northern California! Although, I am waiting for fall now so that I can start making some hot comforting soups and stews, I must admit, summers are still my favorite season of them all. My little one has been keeping me so busy all summer long that me time is some sort of a luxury I feel. Friday's my husband offered to take him for a daddy and son day at work so that I could spend some time my way! It is so important to have some downtime especially with summers around and not having to listen "Mommy, what do I do now?! " I am old school and not much of a fan of camps and 5 day lessons. So we have planned a bunch of stuff to do throughout summer with my son's inputs of course and lemonade stand was one of them. I am working on it with him and will share how it went through and our experience with his entrepreneurial streak lately! I made this cool refreshing drink a while ago and totally forgot to blog about it. One kind reader gently reminded me and I totally made up my mind to blog about the procedure although I did not take many pics. Ingredients for the Tea
You can follow my wellness journey on all my social networks below! I will be filming organization videos up next on my channel along with a Part-2 collab on Dollar Tree organization hacks as well. Keep your eyes peeled ! Please feel free to leave your comments, any blog/video requests below that you might have. Sorry for being MIA on my blog for a few weeks now. I have been super back & forth with a few projects with my husband and graduating from International Dermal Institute this week! It's been a whirlwind to say the least, plus we have guests from India! I am loving it, but it's also super tiring at times. Back to the post, if you are new to my blog, welcome! I will take this opportunity to explain my absolute LOVE for Bagara Baigan!!
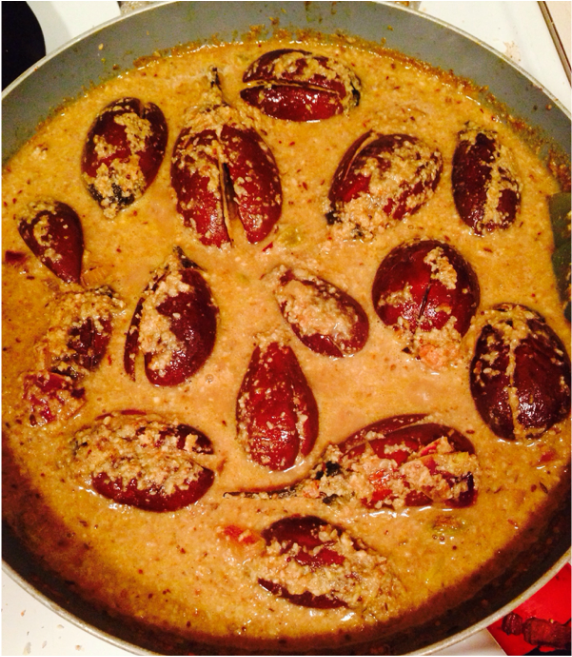
It is one of the specialty dish made in Hyderabad which is a city in the south of India where I grew up! I always like to call myself a Hyderabadi although my roots are spread all over India:) I tasted this dish first time in 11th grade in high school. I still remember that specific lunch break after my botany class where my friend Hira opened her lunch box and I took a couple bites..it's so nostalgic that such a small casual incident is being remembered exactly a decade later so fondly. It was not until I got married, I started to experiment with this dish and till date this is the best tasting version that I have been able to whip up! Our guest at home who is my husband's childhood bestie couldn't stop raving about this delicacy as he had tried it for the first time! Made my week! I am sharing a detailed version of this recipe below & I hope your family & friends will love it as much as my family did. Did I say it's VEGAN too! Ingredients for Bagara Baingan
First off unlike my earlier experiments of frying the eggplant or brinjals, I tried baking them to cut the calories. The temp maintained was 375F for 11/2, just be mindful and keep an eye to check the texture with a fork wearing an oven mitt.
PEANUT-COCONUT PASTE Meanwhile you can add some oil on a cast iron skillet and roast some peanuts, sesame seeds & Coconut powder or shredded coconut as well, Tossing and turning them often.
It is definitely a time consuming recipe and requires some patience, I spent close to 4hrs cooking+cleaning. So that just FYI. But it is well worth the effort and the appreciation that follows is priceless!
I hope you give it a try and leave your feedback! Would love to hear your thoughts. Lots of happy & positive vibes! Until next, Pari.  Happy FriYAY!! Hifiiii!!! Across the screen!! Ok, so who likes Ice cream??!! Me Too!! Made this consistently for the past 3 days and my boys are still not over it! It's that DELISH!! It kinda matches my walls. I am obsessed with color! Colorful foodie, Told ya! Here you go with this easy 10 minute or less recipe: Ingredients
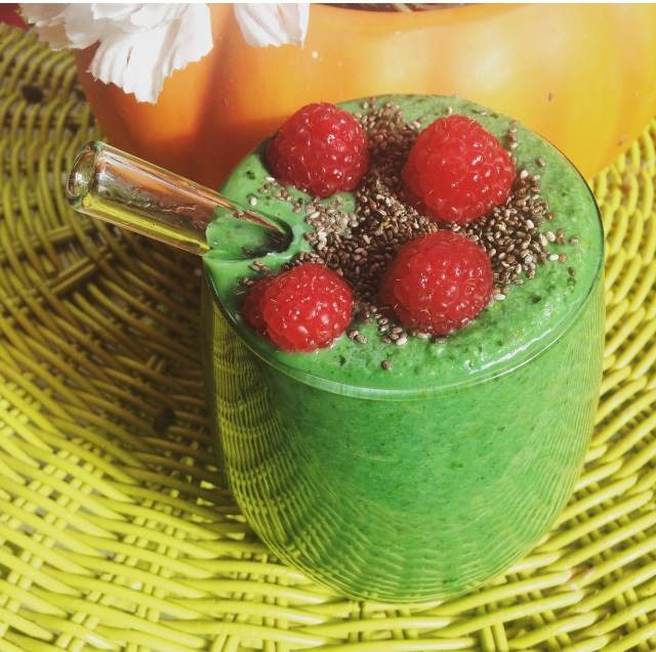
Blend everything and sprinkle Chia & Goji berries. And that's it!! Drink it up!! SLURP!! Thank me later !!!
|
AuthorBorn with a purpose to make everyone joyful and happy! One Blog post at a time. Archives
November 2020
Categories |


 RSS Feed